|
Click here for complete Site Map
The camera divides into two main areas. Shutter/lens area and top plate area. On the Isolette III the top plate also holds the uncoupled rangefinder which may be in need of adjustment. On other cameras, the main reason for removing the top plate is to clean the viewfinder. The other main reasons are to deal with problems with the film wind mechanism and the double exposure prevention mechanism.
Removing the top plate of an Isolette II/III (type 1)
If the top of your camera looks something like this:

Then read on.
Other models like our Agfa Isolette III have a film speed reminder dial and a enclosed winding knob. The procedure for these cameras follows, or click HERE to jump to it.
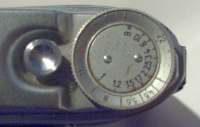
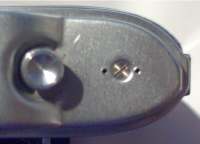
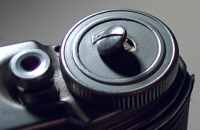
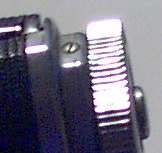
Remove the two small screws on the top of the depth of field indicator (fig. 1). Underneath, you will find another screw (fig. 2). Remove this. The screw on top of the winder (fig. 3) has a reverse thread. Unscrew by turning clockwise. Remove as well the screw next to the winder on the side of the camera (fig. 4). The top should come off.
|
|
|
|
|
|
Fig 1, depth of field indicator dial.
|
|
Fig 2, screw underneath depth of field dial
|
|
|
|
|
|
|
|
|
|
|
|
Fig 3, film wind knob with top screw unscrewed.
|
|
Fig 4, small screw next to film winder. Note: at this point the winder knob will already have been removed.
|
|
|
Just to add - I found it easier to do this with an empty film spool loaded under the film winder knob. This way there is no danger the shaft of the film winder will drop through into the body of the camera when the knob is removed. The shaft is quite easy to refit - but easier if just held in place by the film spool anyway!
Removing the top plate of an Isolette II/III (type 2)
This section is for cameras with a top plate like:

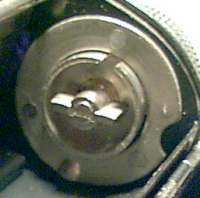
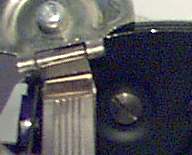
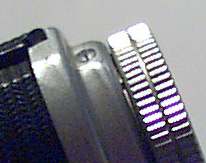
First grasp the film winder shaft (Fig 5) with padded pliers and unscrew the film winder knob CLOCKWISE. Before totally removing this knob its a good idea to pull it up and load an empty film spool underneath it. This way when you do finish unscrewing it - the film winder shaft does not fall down into the camera. Then remove the screw (Fig 6) beneath the film speed reminder dial, and also the small screw (Fig 7) next to the film winder. The top should then lift off.
|
|
|
|
|
|
Fig 5, film winder shaft.
|
|
Fig 6, screw underneath film speed reminder dial.
|
|
|
|
|
|
|
|
|
|
|
|
|
Fig 7, small screw next to film winder. Note: at this point the winder knob will already have been removed.
|
|
|
|
|
Got a question or can't find the info you are looking for? Click HERE to contact us.
Click here for main Repair Page
Click here for complete Site Map |


