|
Click here for complete Site Map
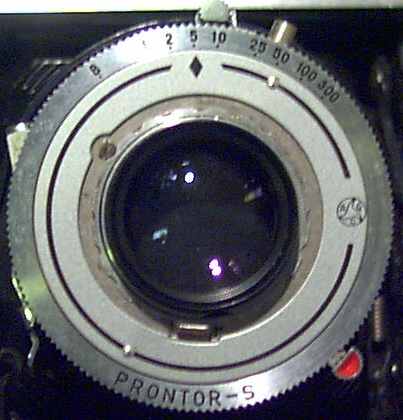
After the success of our step by step guide to servicing the Synchro Compur shutter one the questions we were most often asked is how to do the same with the Prontor type shutters. I'm not as familiar with these - but here are some notes and pictures on a Prontor-S I've disassembled and cleaned. This shutter is from an Agfa Isolette II so some of the details may vary slightly if your Prontor is fitted to another make of camera.
Just before we start - a couple of things. Firstly this is quite a delicate operation. If you do not feel confident working with delicate objects give this one a miss. There are many opportunities to write a shutter off whilst it is in pieces! Also I've included disassembly instructions - but not reassembly instructions. This is because the shutter goes back together the same way it came apart.
Actually - if you've not done so already - now would be a good time to read our existing Synchro Compur pages - as they are in slightly more depth than these ones - and in practice servicing the shutters are very similar.
The first thing that had to be done was for the focus ring to be removed. Basically there are 3 tiny set screws positioned at 120 degree intervals around the ring. Using a very small jeweller’s screwdriver - loosen, but don't remove these screws and lift the ring off.
This procedure is also covered in our original instructions for dismantling the Apotar lens.
|

|
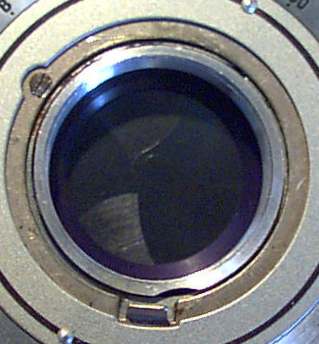
Here we can see the focus ring has been removed. The shutter plate is now visible. This is held in position by a serrated ring which is screwed into position. To stop this ring working loose it is held by a small screw at the 10 o'clock position. This screw has part of its head missing - so can be rotated to free the serrated ring.
|
The front lens element will then unscrew. The thread the front element unscrews from is actually part of the 2nd element. The 2nd element in turn will be unscrewed using the 2 notches which are uncovered when the front element is removed.
|

|
Here the front and 2nd elements have both been unscrewed ANTI/COUNTER clockwise and removed. If you want to avoid having to reset the focus then make a note of the orientation of the front element when it unscrews free of the 2nd element. Then on reassembly if you orientate the front element the same before screwing it back in - focus will be correct. Don't worry it you have trouble with this - as its fairly easy to reset the focus. See Focus Adjustment.
The locking screw has also been rotated and the serrated ring had been unscrewed. Both of these also move ANTI/COUNTER clockwise. The serrated ring is probably screwed on very tightly and you may have to use a small screwdriver to force it to turn. This unfortunately scratches the shutter plate a little - but this will be covered by the focus ring once all reassembled.
The shutter plate will now just lift out.
|
Got a question or can't find the info you are looking for? Click HERE to contact us.
Click here for main Repair Page
Click here for complete Site Map
|


