|
Click here for complete Site Map
In order to remove the shutter from the camera - its necessary to work from the back. Effectively the shutter casing is a bolt and its is fixed to the front of the camera by a metal nut inside the camera. This nut is the only thing that causes the bellows to expand when the camera is unfolded. It is necessary to remove the back lens element before this nut can be easily accessed.
|
|
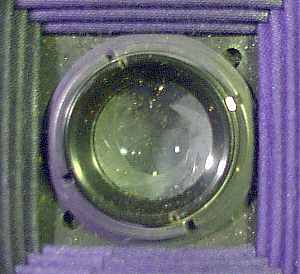
In this picture you can see the back lens element and the securing nut. The securing nut has 4 notches at the 11, 2, 5 and 8 o'clock positions. The lens element sits in the middle of the nut and has 2 notches. One just right of the nut's 11 o'clock one and one just left of nuts 5 o'clock one.
Before easy access to the nut is possible - I unscrewed the element using a thin piece of metal.
|
Once the back element has been removed - it is then possible to unscrew the securing nut. This can be done with the same piece of thin metal as is suitable for the back element.
|
|
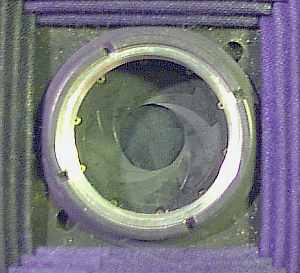
Here the back element has been removed allowing access to the securing nut.
Using the same piece of thin metal I unscrewed this nut too.
|
Once the back element and securing nut have been removed, unfold the camera and carefully prise the shutter off the front. You should find the bellows snaps back into the camera when the shutter comes free.
|
|
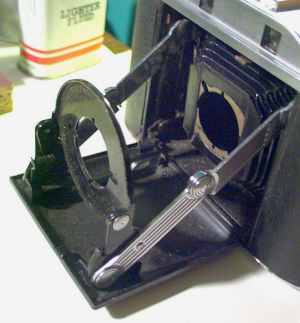
Here the shutter has been removed and the bellows has snapped back into the camera body.
|
|
|
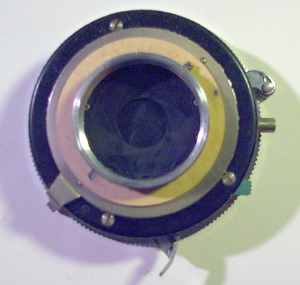
Here is a view of the back of the shutter once removed from the camera. The brown ring is actually 2 paper spacing 'shims' which were inserted at time of manufacture to adjust focusing. The number of these present (if any) will vary from camera to camera. These can easily be removed but should be put back in place when the shutter is reattached to the camera.
|
|
|
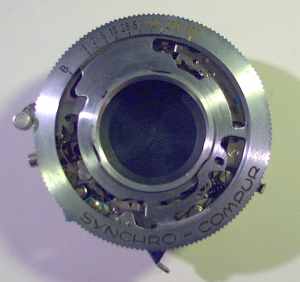
This is the shutter from the front. Whilst it is possible to remove the lens/shutter from the camera without any disassembly from the front, in this case it has been stripped down as far as possible and yet still be able to be fired.
Separated from the camera and with the lens elements completely removed - it is now suitable for a complete cleaning.
|
Having removed the shutter from the camera and all the lens elements it is now possible to completely clean the mechanism. Leaving the shutter speed selector ring on (so the shutter can be fired) pour lighter fluid into the shutter and let it drain away. Then cock and fire the shutter successively over a half hour period to make sure any dirt dislodged doesn't stick the shutter blades together.
Once you are satisfied with the operation of the shutter - reattach the camera and reassemble the front parts. At this point the camera is going to need its focus checked and adjusted
Click here for first Synchro Compur Page
Got a question or can't find the info you are looking for? Click HERE to contact us.
Click here for main Repair Page
Click here for complete Site Map
|


