 |
||||||||
|
|
||||||||
|
Click here for complete Site Map
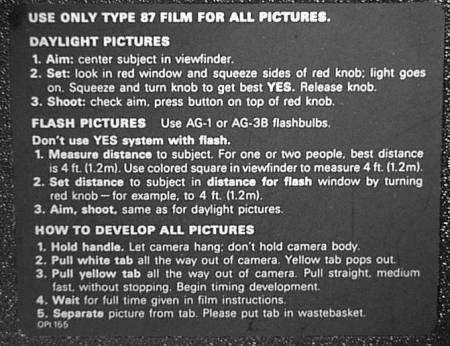
Conveniently - instructions for the use of this camera are printed on a plate on the back. The camera had no focus control (fixed focus lens) but does have a manual exposure control. Rotating the big red knob varies the aperture and squeezing the knob takes an exposure reading. You know when the exposure is correct as a big red YES appears in the lower half of the viewfinder window. Obviously sometimes there is not enough light so the YES is a bit indistinct. Either you live with it (and the underexposed photo) or use a singe use flash bulb. The big red knob is also the shutter release (single speed) and is activated by pushing it down firmly.
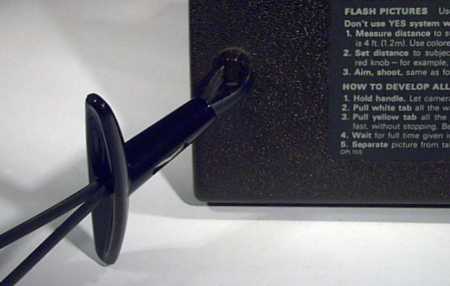
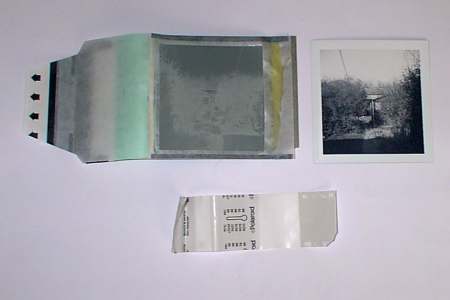
The picture above shows the handle which is held when pulling the white and yellow tabs out. This is designed to ensure the tabs are withdrawn straight and do not jam. The picture below shows the small white tab which is pulled directly after the picture is taken. This is printed with a time/temperature chart so you know how long to leave the print to develop before removing from the negative. Once the white tab has been pulled - the yellow tab appears. The yellow tab is actually the end of the negative/print sandwich and once the yellow tab is pulled the print starts to develop. In this picture the print has already been separated from the negative.
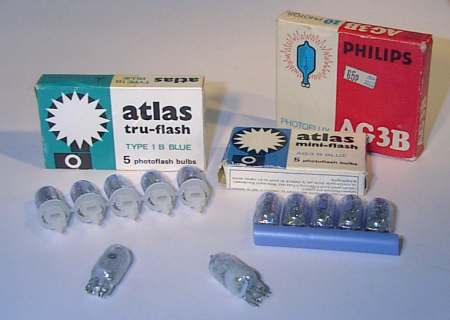
This camera does have a built in flash gun - but it uses single use disposable bulbs. According to the instructions AG-1 or AG-3B bulbs are suitable. I’m not sure if I ever tried the Atlas Type 1B bulbs shown below but the AG-3B ones certainly worked well and were the type I used back in the 1970s when I first owned this type of camera.
Got a question or can't find the info you are looking for? Click HERE to contact us.
|
|
All text and images Copyright © 2000-2011 Roland Givan, unless otherwise stated. All Rights Reserved. |
|
[Home Page] [Using the Swinger] |


