 |
||||||||||||||||||
|
|
||||||||||||||||||
|
Click here for complete Site Map
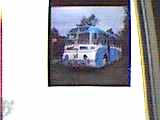
It is a bit limited in use though so you may be better off buying a scanner with a built in slide/transparency adaptor. However there are some other suggestions for scanning slides after the SlideScan section so read on: SlideScanSlideScan is a scanning adaptor which allows flatbed scanners to cope with slides and negatives. This page details some of my early experiences with it. There used to be some more info on the web about it - but it seems to have gone. Slidescan copes well with 35mm slides. Depending on the scanner, it also copes with 6x4.5cm and 6x6cm slides. All my tests have been with a cheap OpicPro 4830P flatbed scanner and this can't quite seem to do 6x6cm slides, but it gets close. The following details my best attempt so far:
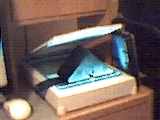
Here is the same strip under the SlideScan unit on the OpicPro 4830P flatbed scanner.
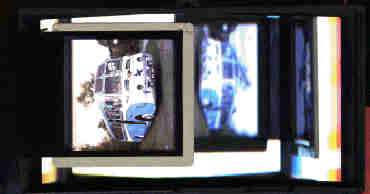
This is what the scanner sees. Note I have used an empty 6x6cm slide mount to help keep the slide flat. This in itself crops the picture slightly.
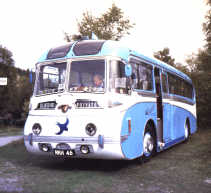
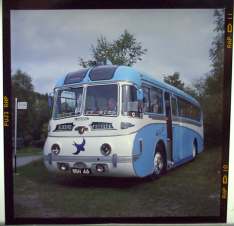
The finished result. This copy is at 100dpi, but I actually saved it at 300dpi which retains plenty of detail.
Digital CameraHere is another attempt at the same picture using our ageing Epson PhotoPC 650. Yet again - natural light was used for illumination. This time reflected off a white window sill. Its much easier to use a lightbox but obviously this adds to the cost unless you already have one.
There is quite a lot to commend this picture - not least because the camera has managed to get the whole picture area without cropping. The resolution achieved is almost exactly the same as with SlideScan too and there is more range of tones - especially in the sky. Its clear however that keeping the slide parallel to the camera is a bit of a problem. All in all - very promising though. Flatbed scanner without SlideScan/transparency adaptorIts a little known fact but you can scan B+W negatives on almost any flatbed scanner - no transparency/negative adaptor needed.
Note this only works with B+W negatives. Colour negatives have a thick orange layer which stops them being viewed by reflected light. Got a question or can't find the info you are looking for? Click HERE to contact us. Click here for complete Site Map |
||||||||||||
|
All text and images Copyright © 2000-2012 Roland Givan, unless otherwise stated. All Rights Reserved. |
|
[Home Page] [Camera Repair] [Old Film Processing] [Stereo Photography] [Scanning Slides] [Glossary] [Rollfilm Camera Guide] [Setting the Film Speed] [Fun with i-zone Film] [Early Colour] [Photo Links] [No Camera Zone] |
